ADVERTISEMENT
Introduction
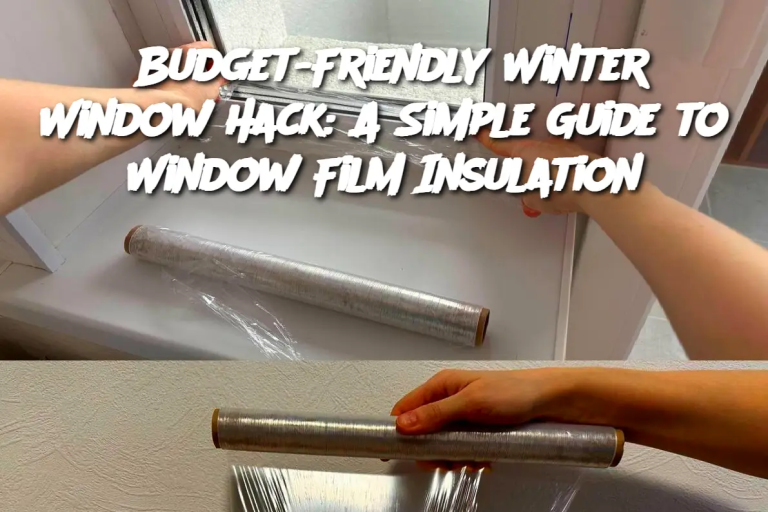
Keeping your home warm during winter can be challenging, especially when trying to save on energy costs. A simple, affordable solution is applying window film insulation to your windows. This easy DIY hack not only keeps the cold out but also reduces your heating bill. In this article, we'll walk you through the steps, from the materials you need to tips for storage and variations. Let's get started!
Ingredients
Window insulation film (available at hardware stores or online)
Double-sided tape (often included with window film kits)
Scissors
Measuring tape
Hairdryer (optional but recommended for a professional finish)
Clean cloth or window cleaner
Directions
Clean the Windows
Start by thoroughly cleaning your windows to remove any dirt, dust, or residue. This ensures the film adheres properly and creates a tight seal.
Measure the Window
Use a measuring tape to determine the height and width of each window. Cut the window film to size, leaving an extra inch on each side to ensure complete coverage.
Apply the Double-Sided Tape
Stick the double-sided tape around the window frame. Press firmly to ensure it stays in place.
Attach the Film
Peel off the backing from the tape and carefully press the window film onto it. Start at the top and smooth the film downward, ensuring it adheres evenly.
Shrink the Film (Optional)
If using a hairdryer, gently heat the film after application. This will shrink the film and create a smooth, transparent finish.
Trim Excess Film
Use scissors to trim any overhanging film for a neat appearance.
Serving and Storage Tips
Maintenance: Check the film periodically to ensure it hasn’t come loose.
Seasonal Use: Carefully remove the film at the end of winter. Most films are single-use, but some high-quality ones can be reused if handled gently.
Storage: Store any leftover film and tape in a cool, dry place for future use.
Variations
ADVERTISEMENT
