ADVERTISEMENT
Introduction
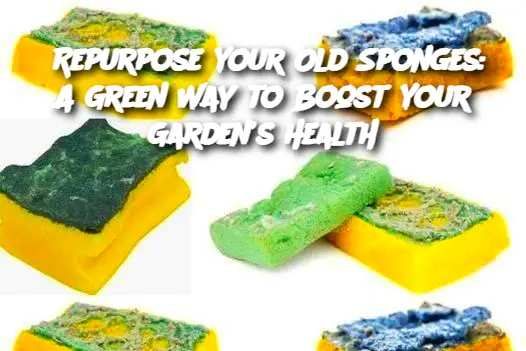
Old sponges are often discarded without a second thought, but did you know they can be a hidden gem for your garden? Instead of throwing them away, consider giving them a second life by using them in creative ways that benefit your plants and soil. By repurposing old sponges, you can enhance water retention, reduce waste, and even provide extra nutrients to your garden. Let’s dive into how these humble household items can work wonders in your garden!
Ingredients:
Old sponges (any type, preferably non-toxic and natural materials)
Water (to soak sponges)
Optional: Organic compost or plant food (for added nutrients)
Directions:
Clean and prepare the sponges: If your old sponges have been used for cleaning, rinse them thoroughly to remove any cleaning chemicals or residues. Let them dry completely before proceeding.
Cut into smaller pieces: Using a pair of scissors or a knife, cut the sponges into smaller sections. These pieces will be easier to incorporate into your garden and can fit into small spaces.
Soak the sponges: Before placing the sponges in your garden, soak them in water for a few hours. This ensures that they will absorb moisture and release it slowly into the soil.
Place in garden beds: Once the sponges are soaked, bury them in your garden beds, near the roots of plants. They will help retain moisture in the soil, especially in areas prone to drying out.
Optional – Enhance with compost: For added benefit, mix the sponges with organic compost or slow-release plant food. This will provide additional nutrients to the soil, helping your plants thrive.
Serving and Storage Tips:
Serving: The sponges can be placed in any part of your garden that requires moisture retention, including vegetable beds, flower plots, or around shrubs.
Storage: If you plan on using them over time, store the soaked sponges in a cool, dry area until needed. Keep them away from direct sunlight to avoid drying them out prematurely.
Variations:
ADVERTISEMENT
