ADVERTISEMENT
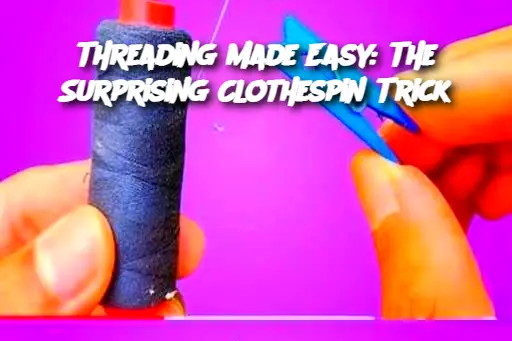
Introduction: Threading a needle can often feel like a frustrating task, especially when you're in a hurry or dealing with fine threads. However, there's a simple and effective trick that few people know about: using a clothespin. This easy-to-follow method will save you time and make threading a needle a breeze, whether you're sewing by hand or working on a craft project.
Ingredients:
A clothespin (any standard wooden or plastic variety)
Needle (regular sewing needle, embroidery needle, or any needle of your choice)
Thread (any kind suitable for your needle)
Instructions:
Prepare Your Thread: Cut a length of thread that is comfortable for your sewing task. Ensure the end of the thread is smooth and free from frays.
Position the Needle: Take your needle and place it with the eye facing up.
Clothespin Setup: Attach the clothespin to the thread about an inch or two from the cut end. Make sure the clothespin securely grips the thread.
Align the Thread: Hold the clothespin with one hand and position the needle directly in front of the thread’s end.
Thread the Needle: Gently squeeze the clothespin to control the thread's placement and ease the end of the thread through the needle’s eye. The clothespin helps hold the thread steady, making the threading process faster and more precise.
Remove the Clothespin: Once the thread is through, remove the clothespin and pull the thread gently to your desired length.
Serving and Storage Tips:
Serving: This method works great for all types of sewing, from simple repairs to embroidery. Whether you’re making clothes, fixing a tear, or working on a DIY project, this easy threading technique will streamline the process.
Storage: When not in use, store the clothespin and needles in a sewing kit or small container to keep everything organized and ready for your next sewing session.
Variations:
ADVERTISEMENT
