ADVERTISEMENT
Introduction
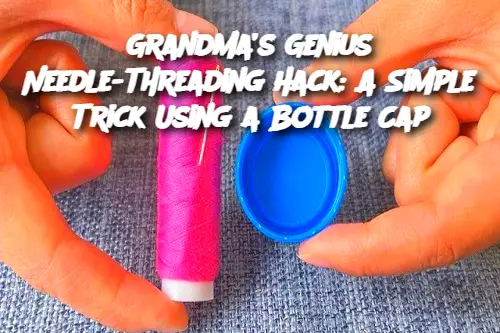
Threading a needle can be a frustrating task, especially for those with shaky hands or poor eyesight. But what if there was a simple, foolproof trick to make it easier? My grandma had a clever solution that only requires a common household item—a bottle cap! This method is not only easy but also a lifesaver for anyone who struggles with threading needles.
Ingredients
A plastic bottle cap (from a soda or water bottle)
A sewing needle
A spool of thread
A small piece of fine sandpaper (optional)
Instructions
Prepare the Bottle Cap
Take a clean, dry plastic bottle cap and ensure the inside surface is smooth. If necessary, lightly rub the inside with fine sandpaper to remove any rough edges.
Insert the Needle
Push the needle through the soft center of the bottle cap so that the eye of the needle is positioned just above the surface. This helps stabilize the needle, making threading easier.
Thread with Ease
Hold the bottle cap with one hand and use the other to guide the thread toward the needle’s eye. The cap keeps the needle steady, allowing the thread to slip through effortlessly.
Pull Through and Remove
Once the thread passes through the eye, gently pull it until you have the desired length. Then, carefully remove the needle from the cap, and you're ready to start sewing!
Serving and Storage Tips
Keep a bottle cap in your sewing kit for quick access whenever you need to thread a needle.
If using sandpaper to smooth the cap, store it separately to avoid damaging delicate sewing materials.
Variations
ADVERTISEMENT
