ADVERTISEMENT
Introduction
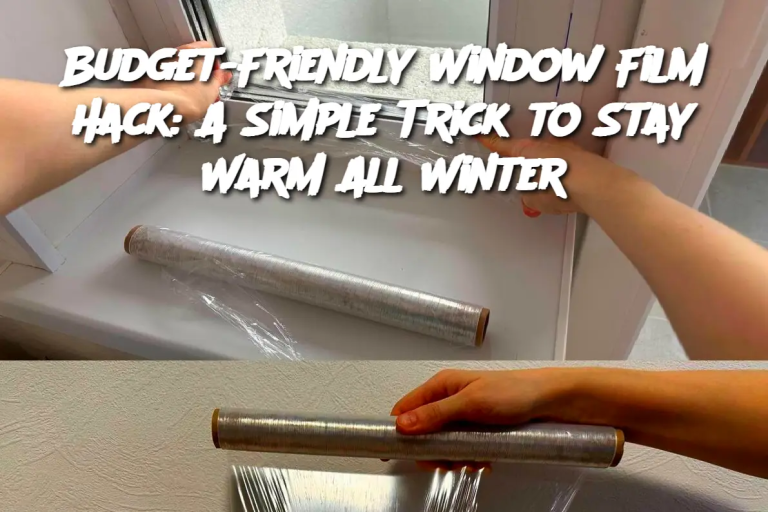
Staying warm in the winter can be costly, but there are budget-friendly solutions to keep the cold out without breaking the bank. One of my favorite winter hacks is using inexpensive window film to insulate my windows. I tried it last year, and to my surprise, it worked perfectly all season long. When I shared this trick with my mother-in-law, she was amazed at how simple yet effective it was! Here’s a step-by-step guide to help you do the same.
Materials Needed:
Cheap window insulation film (available online or at home improvement stores)
Double-sided tape or adhesive strips
A hairdryer or heat gun
Scissors
Measuring tape
A clean cloth
Directions:
Measure Your Windows – Use a measuring tape to determine the dimensions of your windows. Cut the window film slightly larger than the window frame.
Clean the Surface – Wipe the window frame and glass with a clean cloth to remove dust and ensure better adhesion.
Apply the Adhesive – Stick the double-sided tape or adhesive strips around the edges of the window frame.
Attach the Window Film – Carefully press the window film onto the adhesive, ensuring it covers the entire window.
Smooth It Out – Use your hands to smooth out any major wrinkles or bubbles.
Shrink the Film – Use a hairdryer or heat gun on low heat to gently shrink the film, making it tight and clear. Start from the center and work your way outward.
Serving and Storage Tips:
Longevity – If applied correctly, the film should last all winter.
Storage – When removing in the spring, peel it off gently and store it flat to reuse next year (if applicable).
Maintenance – Check periodically for any loose edges and press them back down if needed.
Variations:
ADVERTISEMENT
