ADVERTISEMENT
Introduction:
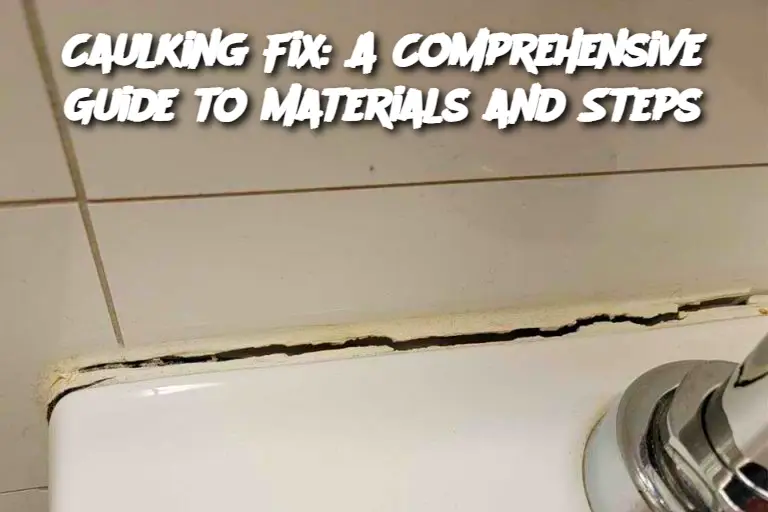
Caulking is an essential task when it comes to home maintenance and repairs, helping to prevent drafts, leaks, and moisture from seeping into unwanted spaces. Whether you’re fixing gaps around windows, doors, or sealing cracks in the bathroom, having the right materials and tools is crucial for a long-lasting and effective seal. In this guide, we’ll walk you through everything you need to know to successfully caulk areas around your home, offering helpful tips and instructions to ensure a professional finish.
Ingredients:
Before starting your caulking fix, ensure you have these materials on hand:
Caulk – Choose the appropriate type of caulk based on the area you’ll be working with (silicone, latex, or polyurethane).
Caulk Gun – This tool is used to apply the caulk in a controlled manner.
Utility Knife – Ideal for cutting the tip of the caulk tube at the right size.
Masking Tape – Helps create clean edges along the areas to be caulked.
Caulk Smoother or Finger – A tool or your finger can be used to smooth out the caulk.
Rags – To wipe away any excess caulk and clean up the area.
Latex Gloves – Optional but useful for keeping hands clean during the process.
Clean Water – Used for cleaning tools and smoothing out the caulk with your finger.
Instructions:
Prepare the Surface:
Clean the area where the caulk will be applied to remove dirt, dust, and old caulk. Use a utility knife to scrape away any old material or debris.
Dry the surface thoroughly, as applying caulk to a damp area can hinder adhesion.
Apply Masking Tape:
Place strips of masking tape along both sides of the joint or crack where you want to apply the caulk. This helps achieve straight, even lines.
Cut the Tip of the Caulk Tube:
Using your utility knife, cut the tip of the caulk tube at a 45-degree angle, ensuring it’s the right size for the crack you’re sealing.
Load the Caulk Gun:
Insert the caulk tube into the gun, ensuring it’s properly positioned and ready to dispense caulk.
Apply the Caulk:
Begin applying the caulk slowly and steadily along the joint or crack. Move the gun along the area in one continuous motion, keeping the pressure even to avoid excess caulk from spilling out.
Smooth the Caulk:
Use a caulk smoother or your finger to gently smooth the caulk, pushing it into the gap and removing any excess. If using your finger, dip it in a small amount of water to prevent the caulk from sticking to your skin.
Remove the Masking Tape:
While the caulk is still wet, carefully remove the masking tape to reveal a clean, smooth line of caulk.
Clean Up:
Wipe away any excess caulk with a rag and clean your tools with water (or a caulk remover if necessary).
Serving and Storage Tips:
Drying Time: Allow the caulk to cure for 24 hours before exposing it to moisture or handling it.
Storage: If you have leftover caulk, store the tube upside down with the cap tightly sealed to prevent it from drying out. Alternatively, you can puncture a hole in the nozzle and cover it with plastic wrap to extend the life of the caulk.
Use in Small Sections: It’s often better to apply caulk in small, manageable sections rather than attempting to complete large areas in one go.
Variations:
ADVERTISEMENT
