ADVERTISEMENT
Introduction
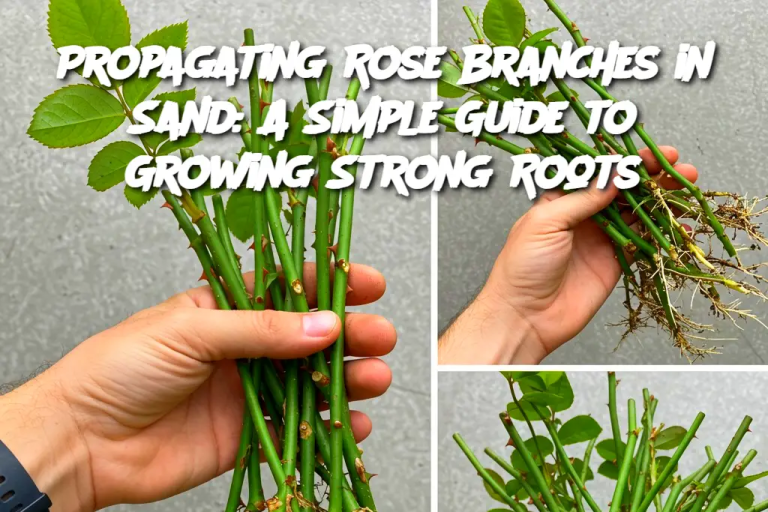
Propagating roses from cuttings is a rewarding way to multiply your favorite varieties without buying new plants. One of the most effective and beginner-friendly methods is rooting rose branches in sand. Sand provides excellent drainage and aeration, crucial for healthy root development. This article will guide you step-by-step on how to plant rose cuttings in sand to grow abundant, strong roots.
Ingredients (Materials Needed)
-
Healthy rose branches (preferably semi-hardwood or hardwood cuttings, about 6-8 inches long)
-
Clean, coarse sand (builder’s sand or horticultural sand works well)
-
A container or tray with drainage holes
-
Rooting hormone powder or gel (optional but recommended)
-
Clean pruning shears
-
Clear plastic bag or propagation dome
-
Water spray bottle
Preparation
-
Selecting and Preparing the Cuttings:
Choose healthy, disease-free rose stems that have recently flowered and are starting to harden. Using clean pruning shears, cut 6-8 inch sections just below a leaf node. Remove all flowers, buds, and most leaves—leave only 2-3 leaves at the top to minimize moisture loss. -
Preparing the Sand Medium:
Fill your container or tray with clean coarse sand. Moisten the sand thoroughly but avoid making it soggy. The sand should be damp to the touch, which creates a perfect environment for root growth. -
Applying Rooting Hormone (Optional):
Dip the bottom 1-2 inches of the cutting into water, then into rooting hormone powder or gel. This encourages faster and stronger root development but is optional if you prefer organic methods. -
Planting the Cuttings:
Make a hole in the sand with a pencil or stick. Insert the cutting about halfway into the sand (3-4 inches deep). Firm the sand gently around the base to hold the cutting upright. -
Creating a Humid Environment:
Cover the container with a clear plastic bag or a propagation dome to retain humidity. This prevents the cuttings from drying out and promotes root growth. -
Placement and Care:
Place the container in a warm, bright location with indirect sunlight. Avoid direct sun, which can overheat the cuttings. Mist the cuttings daily to keep humidity high and check the sand moisture regularly, keeping it damp but not waterlogged.
Serving and Storage Tips
-
After 4-6 weeks, gently tug on the cuttings to check for root resistance. Once roots have formed, gradually acclimate the new plants to less humid conditions by opening the plastic cover a bit each day.
-
When roots are robust (about 2-3 inches long), transplant the rooted cuttings into pots with quality potting soil.
-
Water the young plants regularly and keep them in a sheltered location until they are strong enough to be planted outdoors.
Variations
ADVERTISEMENT
ADVERTISEMENT
