Most people toss tuna cans into the recycling bin without a second thought. But with a bit of cleaning and imagination, these sturdy little containers can transform into some of the most practical, space-saving organizers in your refrigerator. Reusing tuna cans isn’t just a clever hack—it’s an eco-friendly step toward reducing waste and making your kitchen more efficient.
Here’s how to safely and creatively turn those empty cans into mini storage solutions that keep your fridge tidy and your food fresh.
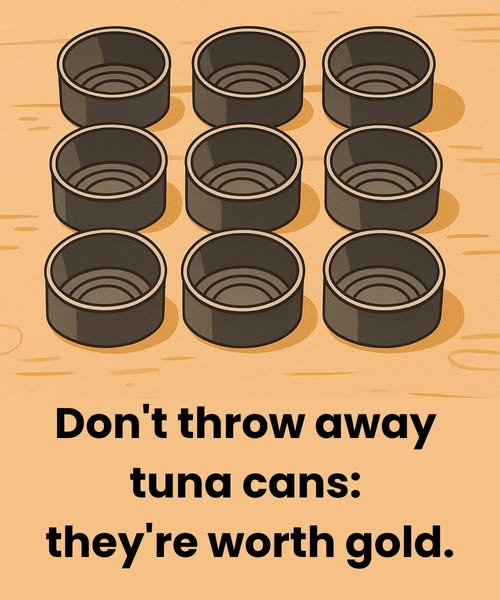
1. Start With a Deep Clean
Before reusing tuna cans, cleanliness is everything. You don’t want leftover oil or fish odor mingling with your stored food.
- Wash thoroughly: Use hot, soapy water to scrub away any residue.
- Deodorize naturally: Fill a sink or bowl with warm water, baking soda, and a splash of vinegar. Soak the cans for 15–20 minutes. This neutralizes smells and sanitizes the surface.
- Dry completely: Air-dry the cans upside down on a towel or place them briefly in a warm oven (turned off) to remove all moisture. This step helps prevent rust.
- Optional: Line the inside with parchment paper, foil, or plastic wrap if you plan to store ingredients directly inside the metal.
With clean cans ready to go, you’re set to create order in your fridge—one small container at a time.
2. Store Small Leftovers and Ingredients
Tuna cans are the perfect size for holding small portions that tend to clutter refrigerator shelves. Think chopped onions, diced herbs, salad toppings, lemon wedges, or shredded cheese.
Simply place the food inside, cover the can with cling wrap, reusable silicone lids, or beeswax covers, and set them neatly on a shelf. Because tuna cans stack well, they take up very little room and make it easy to see what you have at a glance.
No more half-used veggies getting lost behind milk cartons.
3. Organize Your Meal Prep Like a Pro
If you enjoy prepping meals ahead of time, tuna cans can become your new best friend. Use them to portion out ingredients for the week—such as nuts, sauces, shredded chicken, diced vegetables, or cheese.
To streamline the process:
- Arrange several filled cans on a shallow tray or a designated fridge shelf.
- Group ingredients by meal type or recipe.
- Label the lids or covers for quick identification.
When it’s time to cook, just grab the tray and start assembling. This simple system keeps your fridge neat and eliminates forgotten leftovers that go bad.
4. Freeze Small Portions for Later
Clean tuna cans aren’t just great for the fridge—they work beautifully in the freezer, too. Their compact size makes them ideal for freezing small amounts of:
- Soup stock or broth
- Tomato paste portions
- Lemon or lime juice
- Pesto or sauce cubes
- Baby food servings
Tip: Leave about half an inch of space at the top since liquids expand when frozen. Once the contents are solid, you can pop them out and store the cubes in freezer bags or airtight containers for long-term use.
This method prevents waste and lets you defrost only what you need, when you need it.
5. Label Everything Clearly
Since clean tuna cans all look the same, labeling is key to staying organized. A simple piece of masking tape or a small sticker can do the trick—just write the food name and storage date with a permanent marker.
Clear labeling helps you:
- Track how long items have been stored
- Rotate older ingredients to the front
- Avoid accidental food waste
For a more polished look, consider investing in reusable fridge labels or chalkboard stickers.